
If you want to avoid phase issues while recording guitar amps, use one microphone. It’s that easy. If you like using multiple mics, placing them at different distances from the amp, and embracing the different-phase interaction – great, knock yourself out. But, if your goal is to use multiple microphones with varying frequency responses to achieve your perfect guitar tone – and maintain near-absolute phase coherence between them – then try this.
The Steps
1.) Start by putting your microphones as close together as possible with their capsules/ribbons on a linear plane. Then, place the mics as equidistant from the speaker as visually possible. For a lot of people, this is as far as they care to go. If you’re one of those people, start shredding! If you want to take it one step further, keep reading.
(We’ll assume you’re using a DAW, which makes this a pretty easy process.)
2.) Create an aux track in your DAW and apply a signal generator plug-in. Feed the track’s output into a reamp box, or go back through a DI box to transform the low impedance, balanced output of your DAW into a high impedance, unbalanced signal that you can feed into your guitar amp.
3.) Generate white noise from the plug-in into the guitar amp and turn the amp up to a moderate level. You might be able to bypass this step altogether and crank the amp and use the resulting hiss.
4.) While feeding all of your mics into individual inputs/tracks of the DAW, adjust your mic pre levels for each mic until your levels for all mics are equal. This part might be difficult with white noise, so it might be beneficial to switch to a 1 kHz tone momentarily and then back to white noise to average the level.
It is important to have equal gain when listening to the polarity interaction of multiple signals. Once achieved, leave the mic pre gain for each microphone where it is.
From here, we’ll assume that you are only using two microphones.
5.) Make sure the output of both microphone tracks are routed out of the same output of your DAW’s interface and patch that signal to a single channel of your headphone system. This task ensures that you’re listening to both mics at equal volume. You won’t have to worry about discrepancies with converter calibration between multiple outputs or levels on different channels of your headphone system.
6.) You are now ready to listen to the phase relationship between the two microphones. When two signals are in polarity/phase with each other, the sound will be at its most full and robust, and the summed level will be greater than each on its own. Sometimes, it can be hard to hear “most phase coherent” versus “almost phase coherent” positioning. (The line can get blurry between perfect and almost perfect.) What’s much easier to hear is when two signals are almost out of polarity versus absolutely out of polarity. So, before putting on the headphones, reverse the polarity of one of the microphones. If your mic pre doesn’t have a polarity switch, you can use a polarity reverse plug-in on one of your tracks in the DAW. If you go this route, I would recommend putting the plug-in on both tracks so that you don’t have to worry about any delay/latency that the plug-in may cause on one track but not the other. Of course, you would still only engage the polarity reverse button on one of the tracks.
7.) Now, move your microphones to the desired location in front of the speaker. A common guitar amp combination for me (and many engineers) is a moving coil dynamic and a ribbon mic. The moving coil dynamic mic that I choose gives me a great mid-range and high-frequency response, while my ribbon mic choice gives a great low-mid frequency response.
The speaker’s center has a brighter sound, and the sound gets “darker” the further you go towards the outer edge. For this reason, I often put my moving coil dynamic more towards the center of the speaker and my ribbon somewhere between the center and outer edge. Some may argue that the moving coil would complement the outer part of the speaker better, and the ribbon would complement the center speaker better. They are not necessarily wrong, and this may be a great placement for each type of mic if used alone or if setting up multiple microphones for mixing options later. But if using them both, the resulting sounds out of each microphone would start to sound similar. Why would I want two similar sounds from the same guitar amp? The reason I’m using two mics in the first place is to place them at a spot on the cone to accentuate what they do well on their own, and the result is two different sounds that complement each other and come together to form a single, killer guitar tone.
Here’s where grouping the microphones close together in the beginning and getting equal levels for each mic comes into play. If I put one mic on the center of the speaker and one at the outer part of the cone – and then place them equidistant from the amplifier’s grill cloth – the two mics are unlikely to be equidistant from the speaker itself. The center of the speaker sits farther back than the outer edge of the speaker.
8.) While listening to the mix of the two microphones in your headphones, move one mic closer to the speaker. Then, move it farther away. You will start to hear the phase relationship change, particularly in the higher frequencies. You already have a good idea of where the mic needs to be from a visual standpoint. By moving the microphone farther away from this point in both directions, you learn what the best location for phase coherence sounds like – or in this case, the best spot for the signals to be completely out of polarity – because one mic has reversed polarity. Whatever sound phenomenon you hear when the two capsules are closer to being on the same plane, adjust the mic until you hear “that” the most, and consequently, probably the higher frequencies the least.
Adding More
For any additional mics, disengage the polarity switch on the original mic so that it is now in phase with the other mic of the original pair, and repeat the process with the new/third mic that has been polarity flipped, and so forth.
If you’re using a DAW, you could obviously set up individual tracks and test-record them, then zoom into the waveforms and repeat the process until they’re aligned perfectly. Or, you could record them individually and line them up when it comes time to mix. But that won’t do you any good when summing and/or recording to tape. 🙂
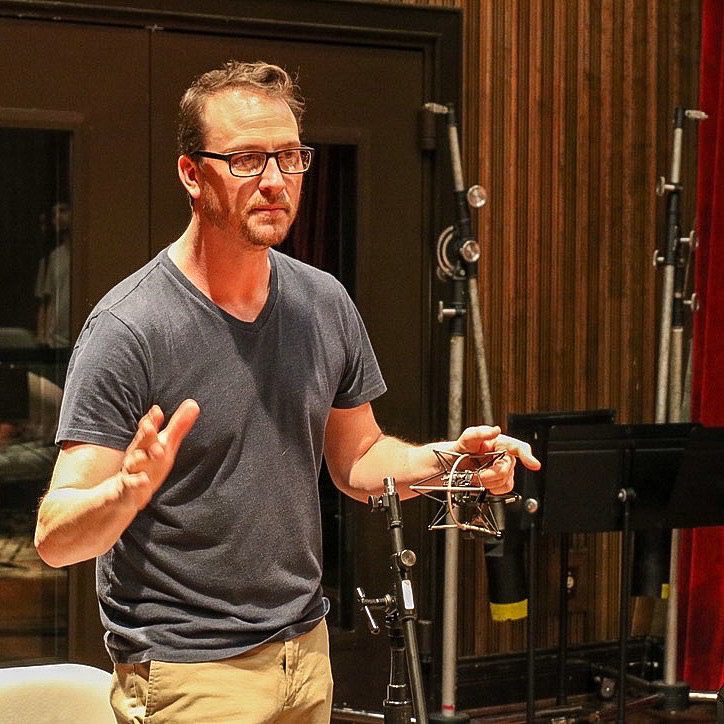
Jeremy Cottrell
Jeremy Cottrell is the head studio instructor for The Blackbird Academy and has been a staff engineer at the Blackbird Studio since 2002. At Blackbird, he has worked on Grammy-winning albums with Tim McGraw, Faith Hill, and Jars of Clay. Jeremy is also a published songwriter and the master builder for Ampcoustics studio acoustic panels.